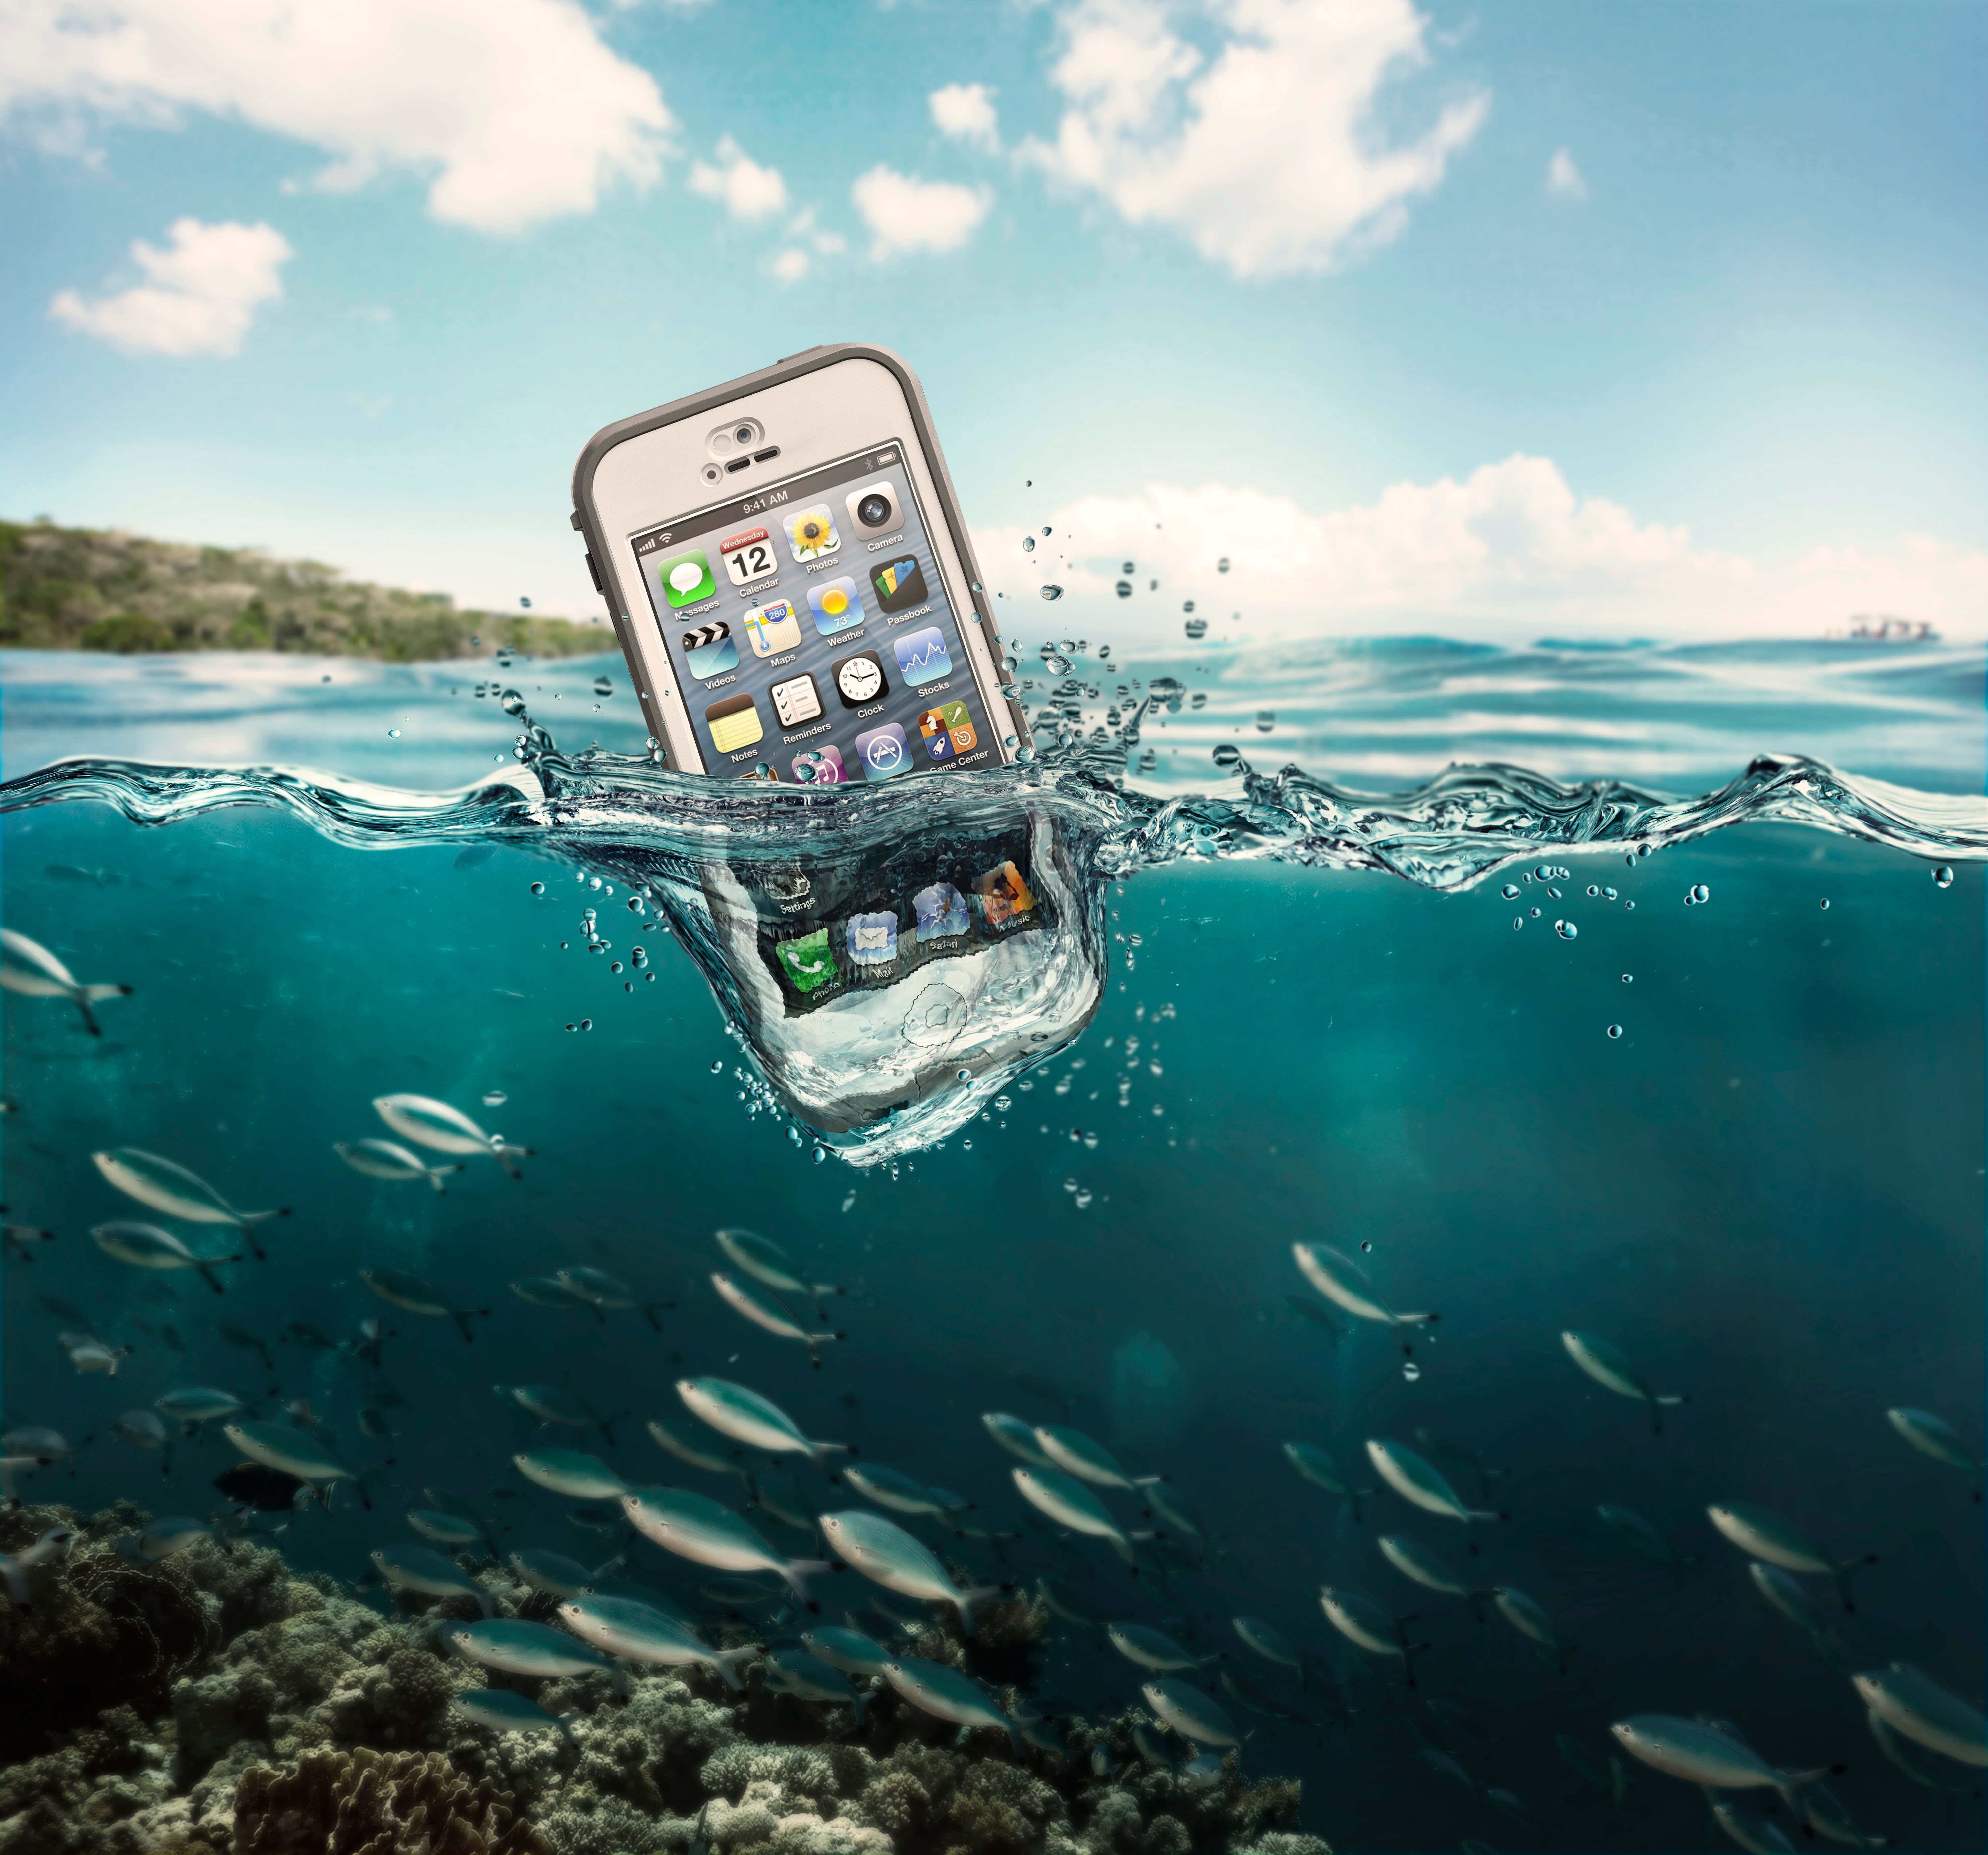
It’s alright, we’ve all been there. Sink, toilet, pool, you name it. There are plenty of wet places where you can drop your precious phone. As soon as the phone hits the water, the warranty is gone, so you can forget about the easy way out. But don’t panic yet, you might still be able to save your phone if you follow these 7 simple steps.
Step 1. Take the phone out of the water as fast as possible.
This is the part where you need to move fast. If your phone is still submerged while you are reading this article, it would be a good idea to pause the reading and go take it out. The more time it spends underwater, the harder it becomes to save it.
Step 2. Power down and remove battery (if you can).
If it’s not responding, try removing the battery. You need to reduce the risk of a short circuit. If your phone is connected to a charger, both underwater, avoid removing them from the water. It’s better for your safety to call a professional in these cases so he can walk you through the safe steps.
Step 3. Disassemble.
Try to open and remove as many parts as possible from your phone – the more, the better. Your priorities are the battery and your SIM. Remove everything you can (free guides): cases, protective covers, memory cards, ear buds. Shake your phone as hard as possible. You have to get rid of as much water as you can.
Step 4. Tap and clean.
Use paper towels or any good moisture absorbent and tap the phone as well as the removed parts to start the drying process. At this stage you can use rubbing alcohol to clean your phone. Sometimes this alone could help you fix it.
Step 5. Vacuum the phone.
Yes, you read it right. The vacuum is your best bet of removing most the water that’s left. Don’t hold the vacuum too close to the phone because you can do more damage than good that way. You should take your time vacuuming the phone for at least 20 minutes. Do not use a hair dryer! You want to get the water out, not push it further in.
Step 6. Get rid of the remaining water.
At this stage you have 2 options:
A. Put the disassembled phone on some paper towels in a dry, well ventilated room and let it rest for up to two days. Any sort of air ventilation that can be directed on the phone and a sunny spot will help a lot. Rotate the phone every hour when you can.
B. Cover the phone and the disassembled parts in silica gel. You could also use couscous if you don’t have any silica gel. This will help absorb the remaining moisture. Use a large container or a drying pouch if you have one, and add at least 4 cups of silica gel. Mix it with your hand every now and then so the phone doesn’t stay in the exact same position. Let it rest for up to two days. I know there are plenty of suggestions flying about that recommend using rice, but experiments have shown that it’s not that helpful.
Step 7. Turn on and test.
You will have to keep a close eye on your phone for at least a couple of days. Some things might not operate correctly. If any problems occur, repeat the process or ask for help from a professional.
In most cases it all depends on how much time the phone has been in the water. Unfortunately, there are some phones that you won’t be able to fix, at least not without changing the battery.
I hope you will never need this guide, but in case you do, share your thoughts in the comment section bellow. Do you know other useful methods of reviving a phone that fell overboard?


comments (0)
Leave a reply